Inworld Setup
You have three options to for your tip jar's appearance:
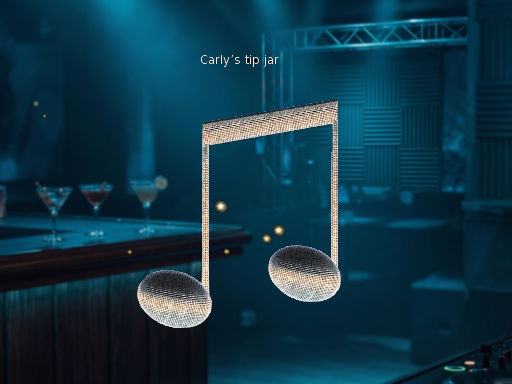
- Use the default spinning notes mesh objects that the tip jar comes pre-packaged in
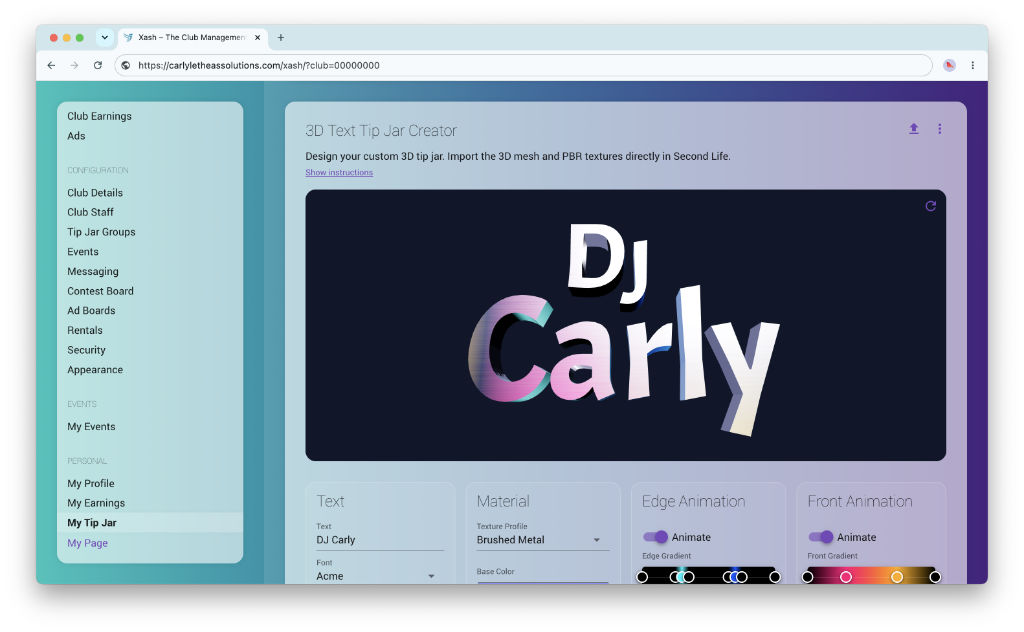
- Use the 3D text tip jar creator on your performer page to build your own 3D text tip jar, e.g., with your name (see below)
- Use your own mesh object
Using the default tip jar object
Simply rez the "Notes Tip Jar", right click the tip jar and click Menu to open the tip jar menu.
Click on User Profile to open your personal Xash performer page on the web, go to the My Tip Jar tab to configure your tip jar (see below).
Once you're done with the configuration, go back to Second Life and open the tip jar menu again, then click on Sync Settings to synchronize the settings with the tip jar inworld.
Create custom 3D text tip jar
Open your Xash performer page. You can do so by rezzing the default tip jar object, right clicking it, then choosing Menu > User Profile.
On your Xash page, click on My Tip Jar and start designing your 3D text in the 3D Text Tip Jar Creator section:
Enter your text, choose a font, material, and animations. In the 2D glyph editor, you can drag and position individual letters, scale, and rotate them.
Once you're happy with your design, click the Upload icon in the top right corner of the 3D Text designer and follow the steps to upload your mesh to Second Life.
In the Configuration section on the Xash page, configure your tip jar (see below).
Finally, after configuring your tip jar on the web page, click the Sync Settings button in the tip jar menu inworld to apply the changes to the tip jar.
Use your own mesh object
If you want to use your own mesh object as tip jar, you can do so by rezzing your object, then dragging the PersonalXashTipJar script from your inventory into the object's inventory.
Right click on your tip jar object and click Menu to open the tip jar menu.
Click on User Profile to open your personal Xash performer page on the web, go to the My Tip Jar tab to configure your tip jar (see below).
Once you're done with the configuration, go back to Second Life and open the tip jar menu again, then click on Sync Settings to synchronize the settings with the tip jar inworld.
Configuration
To configure your tip jar, click the jar inworld and select User Profile
to open your personal Xash Performer page on the web.
Go to the My Tip Jar tab.
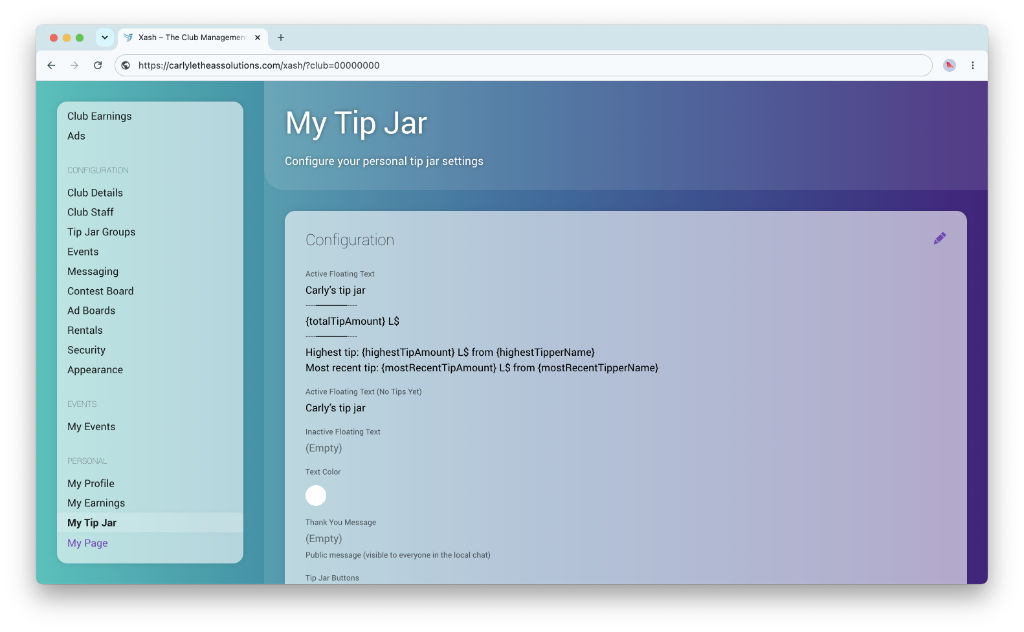
The following configuration fields are available in the Configuration section.
Click the Pencil button in the upper right corner to edit the configuration.
-
Active Floating Text – Hover text shown while logged in.
Supports placeholders (e.g.,
{totalTipAmount},{highestTipperName}). - Active Floating Text (No Tips Yet) – Hover text shown before you receive your first tip.
- Inactive Floating Text – Hover text shown when you're not logged in to the tip jar.
- Text Color – Click to pick a color for the floating text.
-
Thank You Message –
Chat message sent on tips.
Supports the following placeholders:{name}(the display name of the tipper) and{amount}(the amount of the tip).
You can toggle whether the message is sent in public local chat or private message only visible to the tipper. - Tip Jar Buttons – Inputs for up to 4 quick-pay L$ buttons.
- Particles – Choose to enable particle bursts, upload custom textures, make particles fly towards the tipper, and design color gradients.
Once you're done configuring your tip jar settings, click the Sync Settings button in the tip jar's menu inworld to apply the changes.
After syncing your settings, you can test the particle effects by clicking the Test Particles button in the tip jar's menu, and customize further on the web page until you're happy with the particle effect.